 Seed
Seed
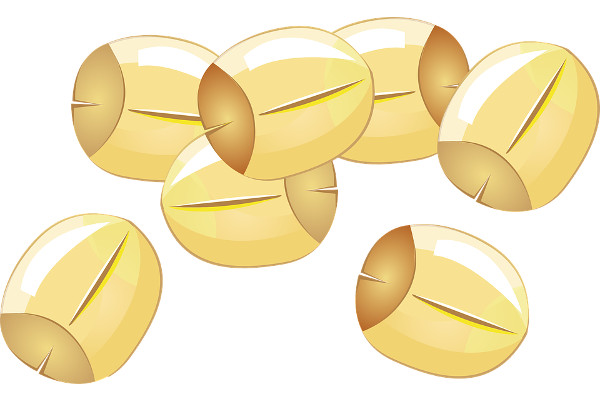
Start with drawing a seed – what shape is it? Is it a circle, oval or rectangle? Does it have any decorations like wings or parachutes? Label this as ‘Seed’. Draw an arrow to the drawing of the next stage.
 Roots
Roots
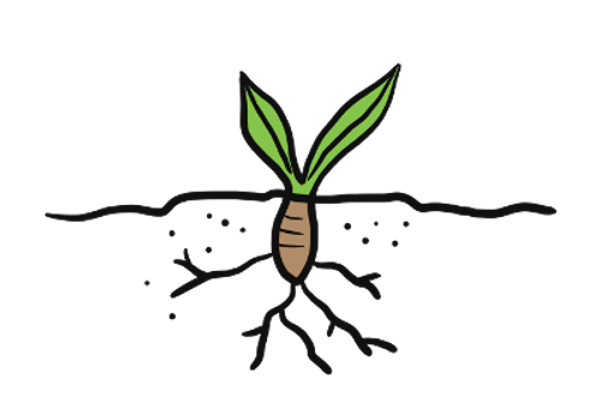
When the seed germinates, it cracks open to allow roots to burrow down into the soil. From observing your own plant or the video, what do the roots look like? Are there lots of roots? Are they going downwards or are they spreading? Do the roots have hairs on them or have fungi friends? Next to the arrow, draw this stage of the germinating seed in the soil and label it ‘Roots’.
 Shoots
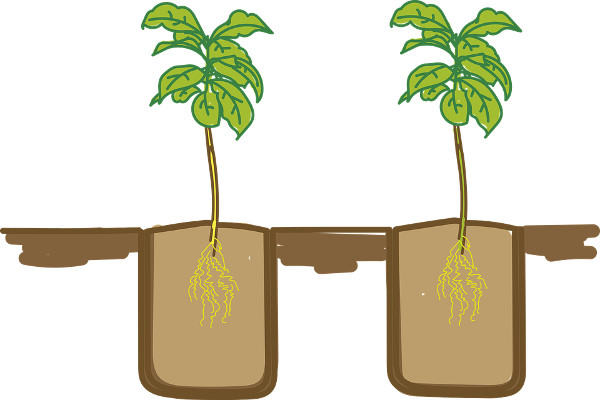
Once the seed’s roots have anchored it in the soil and are feeding the baby plant, the next stage is the shoots emerging upwards from the seed above the soil. Draw this stage and label it ‘Shoots’. Add an arrow to the next stage.
 Leaves
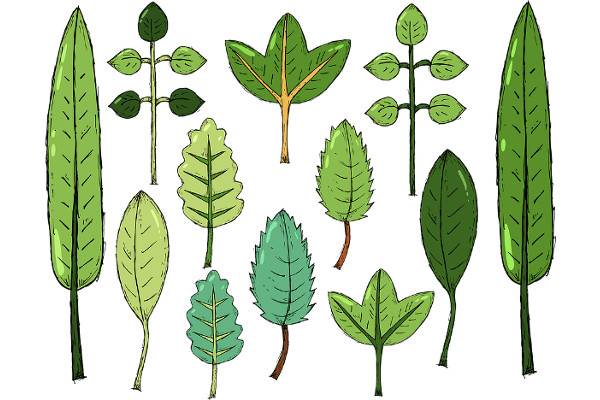
Now the plant is strong enough to develop leaves from the stem. What shape are the leaves? Are they round or triangular? Are they serrated or have hairs? Make sure all the leaves are the same. Label this drawing ‘Leaves’.
 Flowers
The plant is now big enough to create flowers. Draw a similar picture to the leaves stage, but this time, make the plant taller with more leaves, and draw flowers. Are they big or small? What shape and colour are the petals? Label this stage as ‘Flowers’
 Fruit
Fruit
The next stage is where the plant has been pollinated and forms the fruit. This time replace each flower with a fruit full of seed. What shape are your fruits? Are there different textures? Are they hairy, rough or smooth? Label this stage as ‘Fruit’.
 Colour
Colour in your life cycle illustrations.